Step 2: Ink the edges with a matching ink if desired. Inking the edges gives it a more finished look.
Step 3: Adhere one of the white aprons to the back of the patterned paper apron.
Apply adhesive as shown below to join pieces into a card.
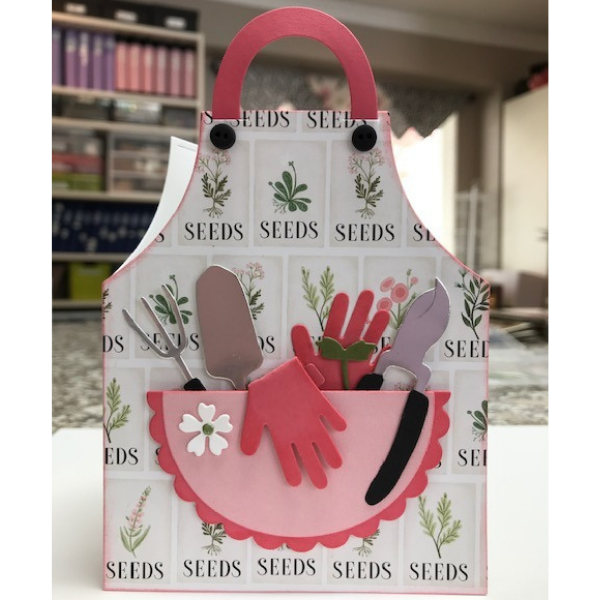
Step 4: Crease the folds on the pocket, ink and adhere to apron.
Cut the neck piece - one in patterned paper and one in white. Adhere together. This adds strength.
Step 5: I fed the neck loop into the slits at the top.
Step 6: Cut out the garden tools and gloves. I cut the tools from green cardstock and silver cardstock.
Step 7: Adhere the tools and gloves to the apron. Add sentiment, buttons etc. as desired.
Step 8: I made a matching envelope by cutting a strip of the patterned paper to the envelope.
You could also put the gift card and pocket on the inside of the card.

Author: Kay Norman (CreatedbyKay)
Instagram: @kaycbyk
Honey Bee Stamps - Honey Cuts Apron: Garden Tools Add-on (SKU: HBDS-APRGT)
Honey Bee Stamps - Honey Cuts - Pickup Line (SKU: HBDS-309)
Honey Bee Clear Stamps - Pickup Lines (SKU: HBST-309)
Lawn Fawn Petite Paper Pack - Spring Fling (SKU: LF1876)
Lawn Fawn glue tube (SKU: LF1664)
Scrappy Tape 1/8” (SKU: ST18)
Cardstock: white, green, yellow, pink and silver foil.
Scrapbook Adhesive thin foam tape (SKU: 1616)
Tim Holtz Distress Ink - Worn Lipstick (SKU: TIM- 21513)
Gold embossing powder
Tiny buttons from stash


