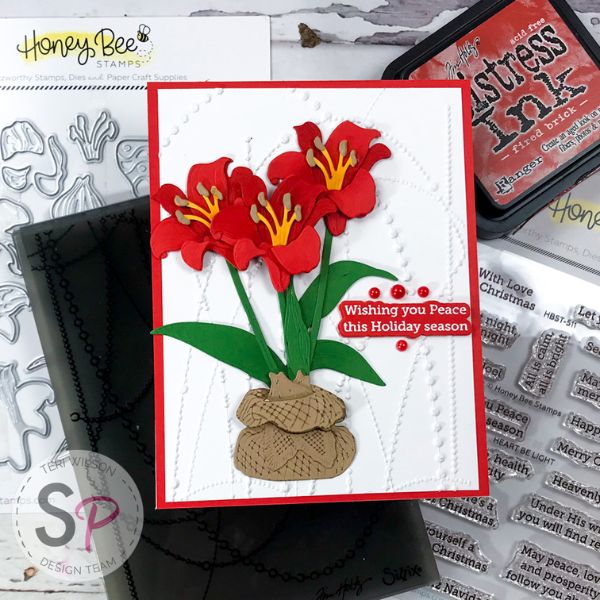
Happy Holidays Friends. It's Teri with TerisMailbox sharing this gorgeous Honey Bee Stamps Layering Die Amaryllis. Check out the layered flowers full of texture and dimension!

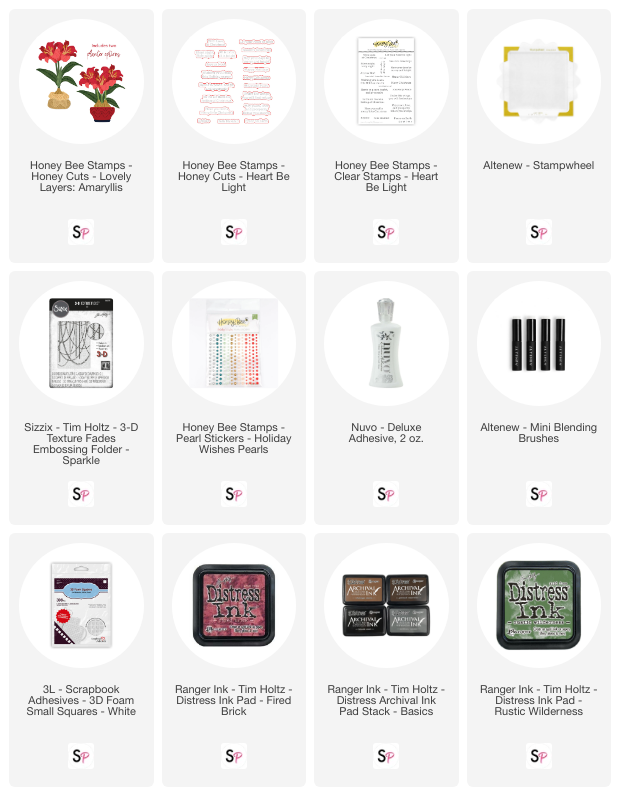
Start by cutting the blooms from red cardstock, the leaves from a hunter green cardstock, the stamen stems from a gold cardstock and the pot and stamen tips from Kraft cardstock. Before cutting the Kraft pieces, run Vintage Photo Archival ink over the dies, and carefully place the pieces on the Kraft cardstock without moving them. Run through your die cut machine. Once you remove the pieces, you'll see that the pieces for the pot are accented with the brown die. The secret is to use archival ink as other ink types will bead up on the die!!
Using Altenew's Mini Blending Brushes, add Coordinating Distress Inks to the flower blooms in the areas that will be exposed after layering. Add green Distress Ink to the lower section of the leaves.
Layer the blooms, leaves and pot using Nuvo Glue to attach. Pop up the top layer of the bloom petals and the pot using small foam squares.

Use the Sparkle Texture Fade Folder to emboss a white A2 card panel. Trim to 4.0 x 5.25 inches. Mount on an A2 size red panel attached to an A2 car base.
Glue the Amaryllis Bloom slightly to the left.
Using the Heart Be Light stamp set, emboss a sentiment onto red cardstock and die cut with the coordinating dies. Cut two additional blanks and glue together to provide dimension. Add a few red pearls from the Honey Bee Holiday Wishes Pearl set to complete the card!

Thanks so much for stopping by to see the process for this gorgeous layered holiday card. Check out the video below to see the entire process. I hope to visit with you again soon!


