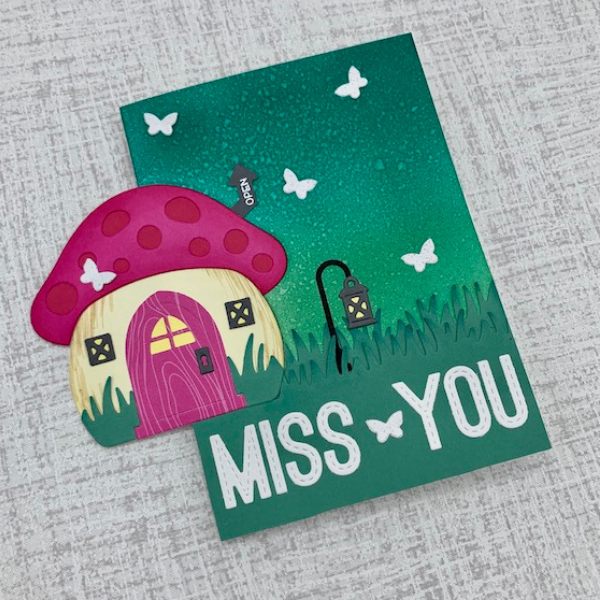
Instructions:
1. Start with a piece of cardstock that is 8.5” x 5.5” and score along the long side at 4.25” to create a standard A2 card base. Open up the card. Center the mushroom outline die along the score line. Place the top plate of your die-cutting platform so that it only covers the right half of the die—cutting only from the score line to what will be the front of the card.
2. Now you’re ready to decorate the card base! Blend your favorite ink colors onto the card front. Make sure that the part of the mushroom that is cut out is fitted back into place so you don’t accidentally get ink seeping through to the inside. Spritz with water to create a more interesting color effect!
3. Now using colored cardstock or patterned paper, Prepare your die cuts and glue into place. Note that the left half of your mushroom will be hanging over the edge of the card. If you are including part of the grass cut die into the card, make sure you cut it to match the outline of the mushroom house—otherwise it will not be able to flip open!
4. Stamp the hedgehogs into place on the inside of the card so that they are visible when the house is flipped open.
Instagram: @soknitpicky
Products Used:
Lawn Fawn Mushroom House LF1920
Distress Ink Peacock Feathers TIM34933
Distress Ink Twisted Citron TiM43294
Heffy Doodle Stitched Alphabet (alternative: Lawn Fawn Oliver’s Stitched ABCs LF2261)


