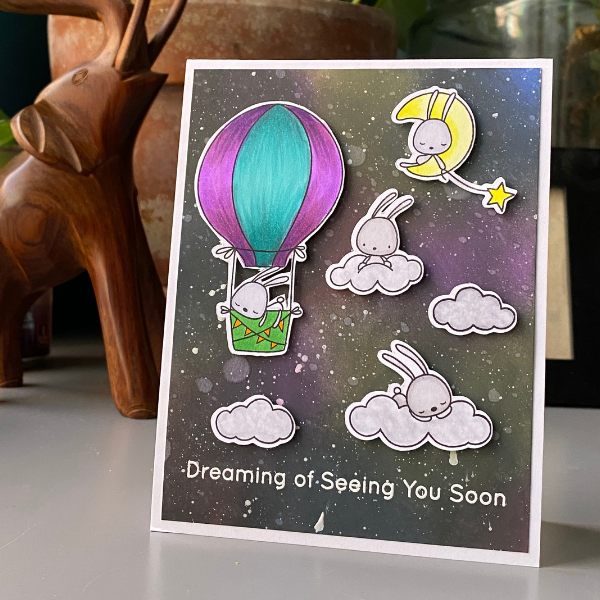
Hi everyone! Welcome back to the blog! I hope you have had a great week and you are getting along okay with COVID still around. We are still under lockdown here in Chicago, so I have been keeping my happy booty at home! Let’s get to the card shall we?
1 – Take a piece of 4.25 x 5.5 piece of paper and ink blend the distress oxide inks on to different areas of the card. They don’t have to be fancy, because we will be covering it up!
2 – Once you get the colors on then take the Black Soot and blend that on top of the colors. Don’t make it completely black, you still want some of the colors to come through. Don’t worry, I know this looks scary, but it will come together soon!
3 – After getting the black soot covered on the panel, then take a brush or water bottle and spritz a few drops of water on the pane, let sit for about 8-10 seconds and then dab off.
4 – Take some white acrylic paint and add a bit of water to it. Then tap it along the top of the pane to make “stars”. Your panel is complete.
5 – Stamp out the images from the stamp set in Gina K Amalgam Black Ink.
6 – Color in the stamped images with any colors of markers/pencils you would like.
7 – Fussy or die cut your images out.
8 – Place some adhesive foam behind your images to pop on the card.
9 – Before we finish the card, we need to add the sentiment to the card panel. Choose the sentiment of your liking from the stamp set and stamp it in Versamark Ink. Cover it with embossing powder and then heat emboss it.
10 – Glue the card panel to a card base cute at 4.25 x 11 and then score at 5.5 into a top folding card.
11 – Then place all your images on your card panel as you would like, and then the card is done!
Products Used:
My Favorite Things Clear Stamps - Sky-High Friends
Lawn Fawn Embossing Powder - White
MISTI Stamping Tool - Original, Updated Version
Gina K. Designs Amalgam Ink Pad - Jet Black
Tim Holtz Distress OXIDE Ink Pad - Worn Lipstick
Tim Holtz Distress OXIDE Ink Pad - Squeezed Lemonade
Tim Holtz Distress OXIDE Ink Pad - Black Soot


