Hey everybody! Well, another few weeks have passed since I last posted and I hope you are seeing some warmer weather where you are. Although I love Winter and the snow, I’m waiting patiently (or not) for Spring, lol! Leslie here, sharing a friendship card with a dimensional frame that features the Pinkfresh Studio Cheerful Blossoms Stamps, Stencils, and Dies. I immediately fell in love with these products because – besides being florals (and who doesn’t love florals) – there are SO many occasions to use them for. So let’s dig in to this easy-to-make card!
STAMP, INK & CUT FLORALS
Using the Mini MISTI, stamp the florals on a white cardstock panel in Memento Tuxedo Black ink with the large Pinkfresh Studio Cheerful Blossoms Stamp. Don’t remove the stamp from the positioner just yet.
Position the stamped florals panel onto a MISTI Sticky Mat and then secure it to the Ranger-Wendy Vecchi Make Art Stay-tion 7” with magnets. Using the Pinkfresh Studio Cheerful Blossoms Stencils along with Ranger tiny blending tools and foams, ink the florals with several distress oxide inks. I used peeled paint, crackling campfire, peacock feathers, fossilized amber and vintage photo.
Place the panel back in the Mini MISTI and stamp over top the inked florals in Versafine Onyx Black ink to darken up the outlines just a bit.

Cut the florals apart using the Pinkfresh Studio Cheerful Blossoms Dies. The thing I love the most about these stamps and dies is that they are grouped together so you only stamp the group once and cut the group once. Easy peasy!
DIE CUT FRAME LAYERS
Cut eight frames with two Pinkfresh Studio Postage Edge Nested Rectangles Dies. Cut four from white cardstock and four from teal cardstock. 
Using the My Sweet Petunia Glue Press and Bearly Art precision craft glue, glue the frames together in a stack. I adhered two white, all four teal, and then the remaining two white, which created a little interest when viewing the frame from the side. 
CUT CARD BASE & ASSEMBLE PANELS
WHITE CARDSTOCK:
1. Cut the card base at 5-1/2” x 8-1/2” and score it at 4-1/4” on the long side. Fold on the score line and burnish with a bone folder.
2. Cut two white rectangular panels to fit inside the stitched lines on the teal postage edge panels that you’ll be cutting in the next step.
TEAL CARDSTOCK:
1. Die cut two postage edge panels, one for the front and one for the inside.
To assemble the panels, simply adhere the white rectangles to the teal postage edge panels with Scrapbook Adhesives E-Z Runner Strips.
ADD SENTIMENTS, FRAME & FLORALS
FRONT PANEL:
1. Stamp a sentiment from the Altenew Dynamic Duo Blooming Branch Outline Stamps in Versafine Onyx Black ink on one of the layered panels. Be mindful of the location so it doesn’t get covered up by the florals.
2. Line up the frame over the panel and secure them together on the back with 1/2" Scor-Tape but don’t remove the Scor-Tape liner yet.
3. Cluster the florals in the bottom right corner, popping some up on Scrapbook Adhesives Thin 3D Foam Squares and Scrapbook Adhesives 3D Foam Squares. I added a small clear gemstone (colored with Copic Ciao E18 Copper) to the center of each flower. Gotta have some bling!
INSIDE PANEL:
1. Adhere a floral to the upper right corner of the other layered panel using My Sweet Petunia Glue Press and Bearly Art precision craft glue.
2. Stamp another sentiment from the Altenew Dynamic Duo Blooming Branch Outline Stamps in Versafine Onyx Black ink on the inside panel below the floral.

COMPLETE PROJECT
Remove the Scor-Tape liner from the back of the front panel and adhere it to the card base with supplemental Scrapbook Adhesives E-Z Runner Strips. Add another floral to the upper left corner (using the My Sweet Petunia Glue Press and Bearly Art precision craft glue) to balance the design.
Lastly, adhere the inside panel to the inside of the card base with Scrapbook Adhesives E-Z Runner Strips, and this will complete the card.
I hope you've enjoyed this friendship card and I’ve inspired you to check out the Pinkfresh Studio Cheerful Blossoms Stamps, Stencils, and Dies. These products are beyond amazing! Be sure to visit Scrapbook Pal on Facebook, Pinterest and Instagram for more design team inspiration! And if you haven't yet subscribed to our YouTube Channel, be sure to do that, too, for tons of hands-on crafty inspiration! Thanks so much for stopping by today – we’ll see you next time!
Scrappy hugs,
Leslie
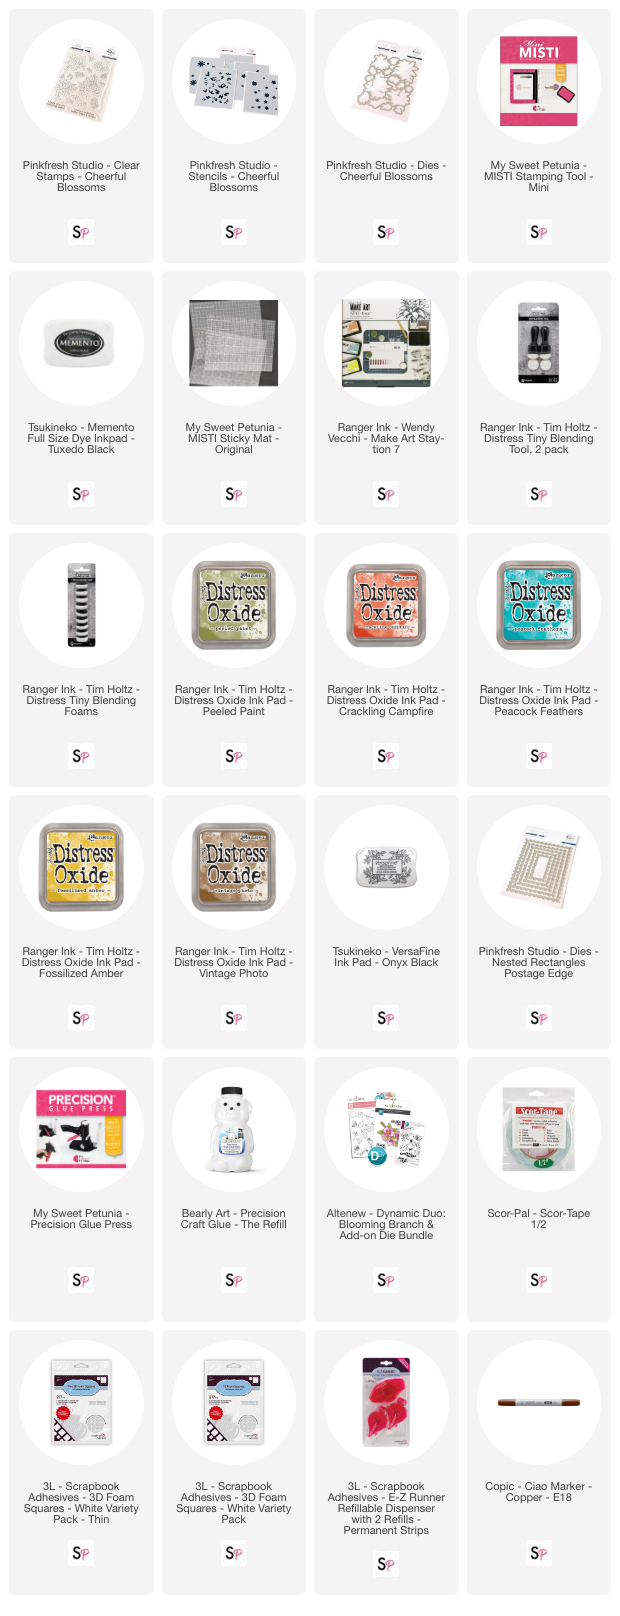
Supplies: