Hey everybody, happy Wednesday - I hope you’re having a great week! Don’t you just love having extra birthday cards on hand for your big and little friends and/or family? I sure do! Leslie here, sharing a tutorial for making a super cute shadow box birthday card featuring the Lawn Fawn Silly Goose! Stamps, Stencils and Dies. I also used the Spellbinders Emerald Cut Labels and Tag Dies and Spellbinders Scallop and Stitched Edge Ovals Dies along with quite a few other products on the website. This is truly one of the easiest fun folds you’ll ever make, and it can be tailored for any occasion! You may have seen other versions of the shadow box fun fold but I recently discovered this one and I like it the best, so let me show you how to make it!
CUT THE CARD BASE & LAYERS
Peach cardstock:
1. Card base (cut 2): 5-1/2” x 6-1/4”, scored at 1/2" and 1” with the Spellbinders 12x12 Multi Purpose Scoring Board on each long side; fold on score lines and burnish with bone folder
Patterned paper (Lawn Fawn Spiffier Speckles 6x6 petite paper pack used here):
1. Front panel (cut 2): 4” x 5-1/4”
2. Front and back narrow side panels (cut 4): 3/8” x 5-1/4”
3. Back embellishing strip: Approximately 1/2" x 4”
White cardstock:
1. Back sentiment panel: 4” x 5-1/4”
INK THE BACKGROUND
Cut a 3-7/8” x 5-3/8” panel of ink-blending-friendy white cardstock, secure it to the Ranger-Wendy Vecchi 7" Make Art Stay-tion with magnets, and mask off the top two-thirds with Spellbinders 5/8" Best Ever Craft Tape and copy paper. Using Ranger Mowed Lawn Distress Ink, create a grassy area along the bottom with a Catherine Pooler 1/2" Detail Blending Brush. Move the magnets, tape and copy paper down to the bottom of the panel to cover the grass. Make a cloud stencil by cutting uneven scallops on two edges of a piece of medium weight cardstock. Using Ranger Tumbled Glass Distress Ink and the handmade stencil, create the sky with a Ranger Tiny Blending Tool and Tiny Blending Foam. Set this panel aside. 
STAMP & DIE CUT THE IMAGES
Using the MISTI Stamp Tool, stamp the images from the Lawn Fawn Silly Goose! Stamps in Memento Tuxedo Black Ink on white cardstock. Don’t take the stamps off the MISTI yet. Place the coordinating Lawn Fawn Silly Goose! Stencil over the geese and ink the bodies with Ranger Brushed Corduroy Distress Oxide Ink using a Spellbinders 3/8” Mini Blending Brush. Next, ink the beaks and feet with Ranger Carved Pumpkin Distress Ink using a Catherine Pooler 1/2" Detail Blending Brush. Now color the party hats and presents with Copic Ciao BG01 Aqua Blue, BV02 Prune, R14 Light Rouge, R22 Light Prawn and YG03 Yellow Green Alcohol Markers. I left the sentiment in the bubble uncolored. With the stamps still on the MISTI, re-stamp the images in Versafine Onyx Black Ink to get nice crisp outlines. Now cut all the images with the Lawn Fawn Silly Goose! Dies. 
ADHERE THE LAYERS
Using the Scrapbook Adhesives E-Z Runner Permanent Strips, adhere the front patterned paper layer to one of the card base pieces and the white sentiment panel to the other card base piece. Now glue the short narrow patterned paper embellishing strip to the top of the white panel. Using the My Sweet Petunia Glue Press with Bearly Art Precision Craft Glue, adhere all four of the patterned paper narrow side panels to the card base pieces. 
CUT THE APERTURE & CREATE THE FRAME
Secure the second largest outline and frame dies in the Spellbinders Emerald Cut Labels and Tag Dies with a couple pieces of Spellbinders 5/8" Best Ever Craft Tape and cut a frame from the peach cardstock. Using the same outline die, cut an aperture into the front card base piece. Using the bow die from the Spellbinders Scallop and Stitched Edge Ovals Dies, cut a bow from gold glitter cardstock and adhere it to the top left corner of the frame. 
Now adhere the frame to the aperture on the front card base piece. 
CREATE THE INSIDE SCENE
Adhere the inked background to the front side of the whole card base piece with Scrapbook Adhesives E-Z Runner Permanent Strips. Do a ‘dry run’ before actually gluing to ensure the scene can be viewed through the aperature. Glue the geese and presents with My Sweet Petunia Glue Press with Bearly Art Precision Craft Glue, popping one of the presents up on a Scrapbook Adhesives Thin 3D Foam Square. Glue the party hats to the geese and add the sentiment. Save a goose with a party hat and a present for the back panel. 
STAMP THE BACK SENTIMENT & ADD IMAGES
Flip the above card base piece over and stamp a sentiment from the Lawn Fawn Silly Goose! Stamps in Versafine Onyx Black Ink using the MISTI Stamp Tool. Glue the remaining goose with party hat and the present in the lower right corner with My Sweet Petunia Glue Press with Bearly Art Precision Craft Glue. 
COMPLETE THE SHADOW BOX CARD
Now all that’s left to do is adhere the narrow side flaps together, ensuring once more that the scene is visible through the aperture, and the card is complete. 
Here is an overhead view of the finished card. It folds flat for mailing – just pull the narrow side flaps outward and flatten the card. 
I hope you've enjoyed this shadow box birthday card featuring the most adorable Lawn Fawn Silly Goose! Stamps, Stencils and Dies! Be sure to visit Scrapbook Pal on Facebook, Pinterest and Instagram for more design team inspiration! And if you haven't yet subscribed to our YouTube Channel, be sure to do that, too, for tons of hands-on crafty inspiration! Thanks so much for stopping by today – we’ll see you next time!
Scrappy hugs,
Leslie
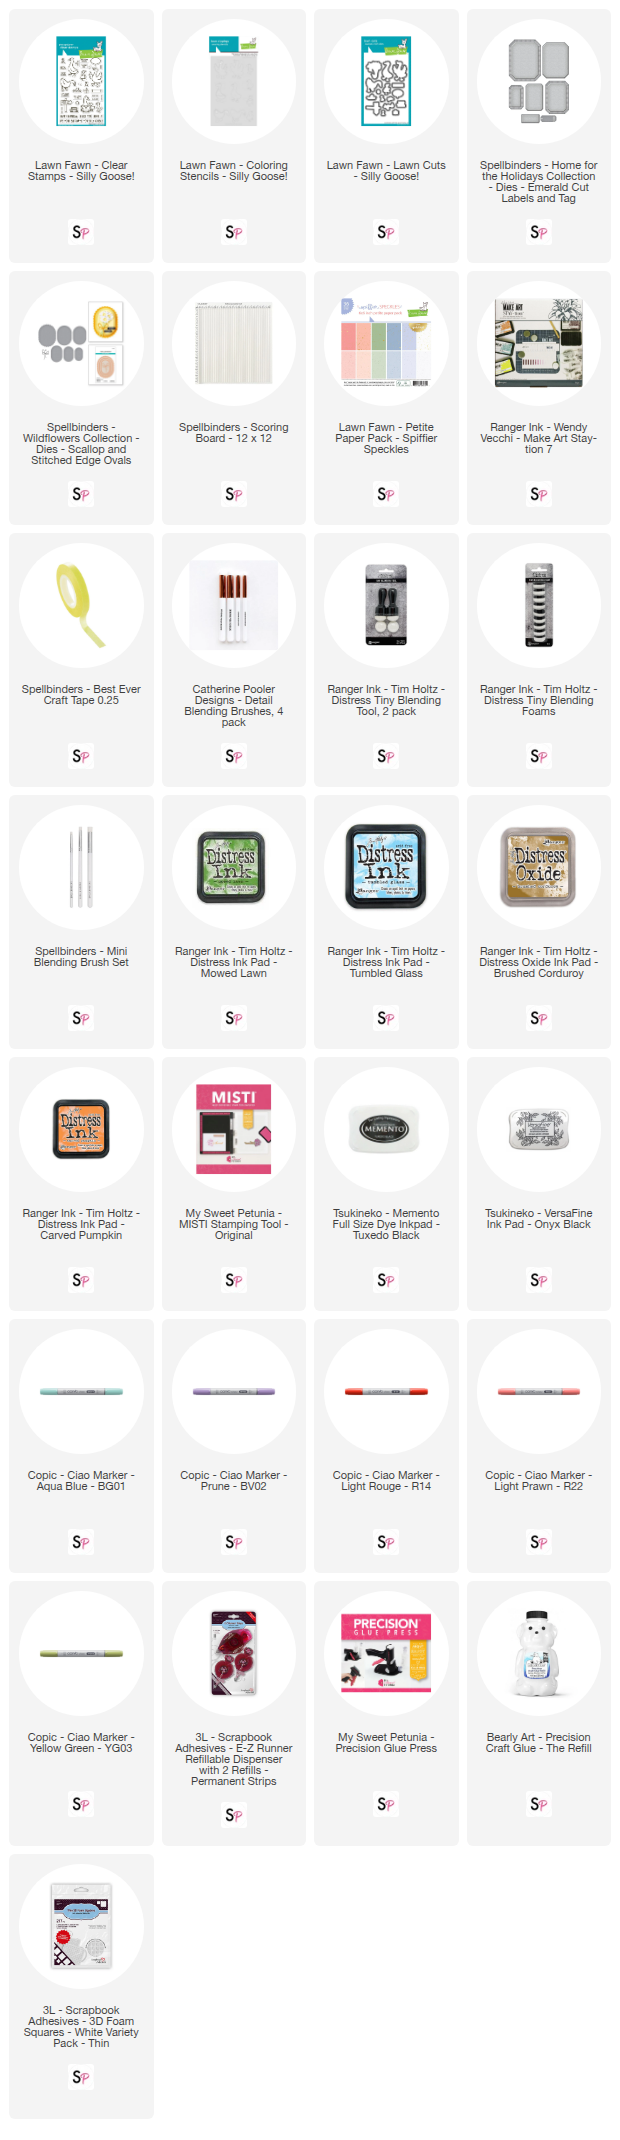
Supplies: