


As I was contemplating my design, I decided I wanted the pasta shapes on the Spellbinders Al Dente folder to be more of a pasta color, and the background to be darker. To achieve this effect, I planned on inking the flat side of the embossing folder... the side where the shapes are depressed into the folder. This would place the ink on the background, and keep the pasta shapes the color of the paper. At first I tried this using cream colored cardstock, and inking with Tim Holtz Distress Oxide in Antique Linen. As I thought through the design, I decided I would rather have my little ravioli pasta friends be a pasta color, and have the entire background appearing to be tinged with marinara. Not to worry, I'll use that first "practice" piece of cardstock for something else. On to the next idea... let's get some variations in the marinara sauce. Starting with a piece of white cardstock, I used a large blending brush to apply Tim Holtz Distress Ink in Tattered Rose and Fired Brick. Then I inked the embossing folder with Aged Mahogany, and ran it through my die cut machine.

Next up was to create my main characters, filled with ricotta of course. Paper ricotta. I cut the ravioli shapes using the Spellbinders Pasta Friends dies. I cut two layers of the smaller "face" part, as I wanted that part to appear thicker. I used a blush Copic Marker, number R20, to color a small scrap piece of cardstock for the cheeks and mouth, and layered that inside my "pasta". I inked my raviolis with the Distress Oxide Antique Linen, and used a touch of Distress Tea Dye ink to add depth the the edges.
I used my favorite black cardstock from Ranger/Tim Holtz for the arms, legs, and bow tie of my ravioli. I colored another bow with Aged Mahogany, and then used Ranger Ink Glossy Accents to make it shine. I used more of the dies to cut out leaves, the olive, and the chef hat from white paper. The leaves and olive were colored with the green Distress Inks listed below. The Spellbinders Mini Blending Brush Set is fantastic for inking small dies lkike the leaves and the olive, and you get three different sized brushes in the set, at a great price. I used a piece of scrap silver paper for the fork.

To add a little more interest to the card, I went back to that first piece of cream colored cardstock that I had embossed in the beginning but decided not to use. Some of the Italian words in the sentiment set were small enough to fit on the embossed ravioli pasta shapes. I stamped them onto the spare background that I made, and then fussy cut them out to add to the card. The raviolis and sentiment strip were attached to the card front using Scrapbook Adhesives Foam Squares Variety Pack and Scrapbook Adhesives Thin Foam Squares Variety Pack. I used Bearly Art Precision Craft Glue to add the arms, legs, hat, and other details. I created a thin black frame with black cardstock, and used Fired Brick ink to color the larger, red frame.

Thank you for reading my blog post. I hope you like this card and are inspired enough to step away from your Christmas Card Production Line and create a fun card to send to your favorite Italian! All of the supplies are listed below, and available at ScrapbookPal.com!
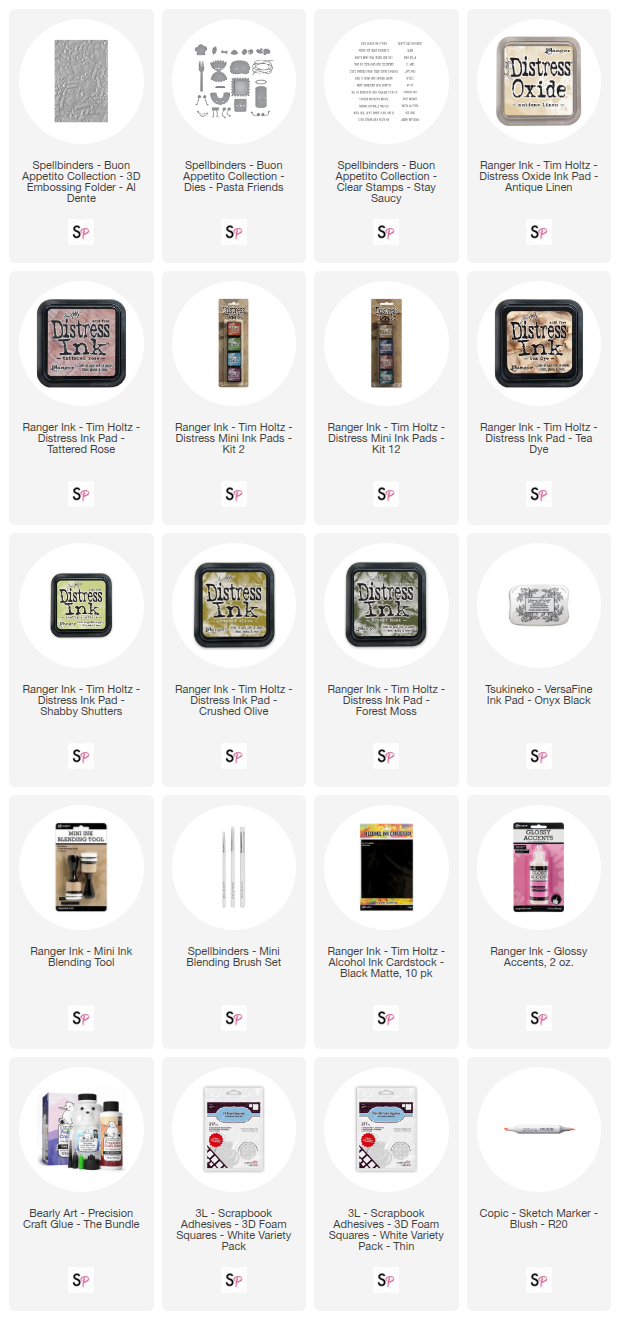
Products used in this project, available at ScrapbookPal.com:


Comments
I just bought this set. Can’t wait to make a birthday card for my Italian friend!
Fun and creative card Vicki! The sentiments with this collection are a hoot! Love it ❤️