

Hey friends! Tiffany here with some Halloween inspiration for you. I am a huge fan of Spellbinders, but this new collection, Happy Hour, has my heart! It is so much fun creating these whimsical cocktails with the add-on, seasonal die sets. Halloween and Christmas are my two favorite cardmaking seasons so I am looking forward to creating many more cards with these products. Let's get into the details of this spooky card!

This card was straightforward to create, but it took a little while to get all the pieces and details to come together. To start, I created a background using the Layered Classy Glasses Press Plate and Stencil Bundle. I didn't use the stencil for this project, but it is nice to have an easy way to add color to the glasses. I used my Glimmer machine to hot foil the press plate on black cardstock using purple hot foil. The purple on black does not have a lot of contrast, but I wanted a more subtle background to not distract from the focal point. Tip: In my experience, press plates hot foil much easier and more consistently than regular hot foil plates for whatever reason.

Next, using the Olive Martinis and Boos! Cocktail die sets, I die cut all the pieces I wanted from white or black cardstock, and chose a color palette. I wanted an analogous palette and used Catherine Pooler inks - Sixteen Candles, Glam, Cranberry Fizz, Flirty Fuchsia, and Grape Crush.

I inked all the pieces with a variety of inks in my chosen palette. Since the ink is water reactive, I also added splatter with water for additional texture on certain elements. I adhered the die cuts together.

For the sentiment, I used the Cheers Sentiments Press Plate & Dies. Again, I hot foiled the plate. This time I used opaque white foil on black cardstock. I used the coordinating die to cut out the sentiments. I like that it cuts them all at once so I have plenty for future projects. Tip: If you get overfoiling, I like to use an adhesive eraser to clean up the excess foil.

I adhered all the completed pieces together on the card front. I popped up the martini glass and skeleton hand with foam tape. And for a little sparkle, I used the sentiment die to die cut glitter pop-up foam to add behind the sentiment. I also added white gel pen detail on the die cuts and in the background for faux splatter. All the little details add up and can help take your card designs to the next level.


Hope you enjoyed my card and are inspired to check out this faBOOlous release! Cheers!
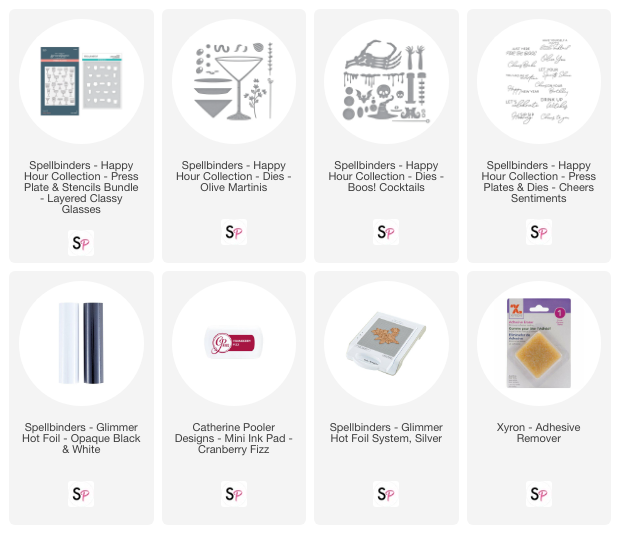
Supplies:


Comment
This is mind blowing. Absolutely gorgeous and so so much fun. Thank you for sharing the tutorial.