Hi! It's Kay here for my very first blog post as part of the new ScrapbookPal Blog team. I'm so happy to be sharing 3 projects with you today featuring Spellbinders Merry & Bright Collection.
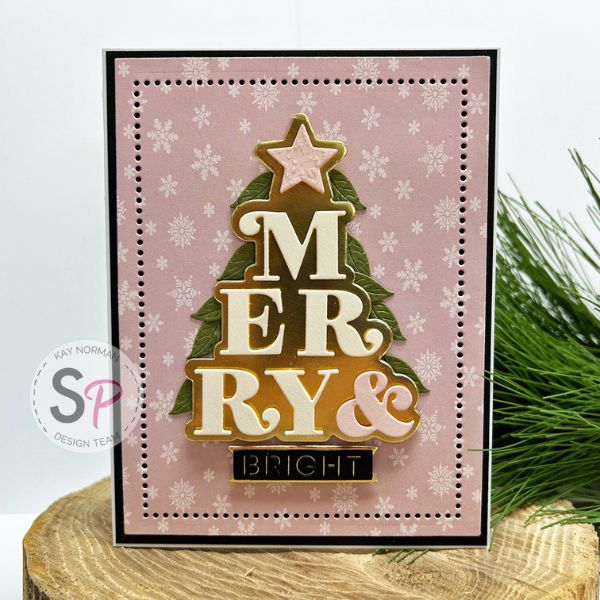
Here is my first card:

Here is my second card which is almost the same card as above but with different colors. The first card I added some leaves to my tree from the Spellbinders Petite Blooms & Sentiments die set and this one I added some Clear Iridescent drops.

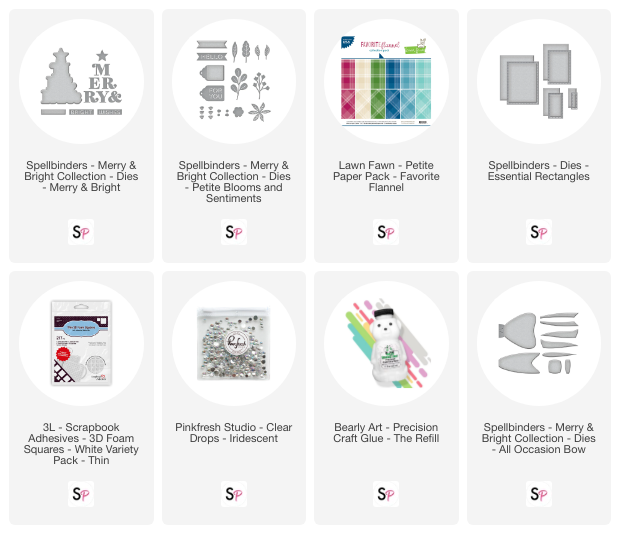
Here are the supplies I used to make this card:

First I cut out the patterned paper (Lawn Fawn - Petite Paper Pack - Favorite Flannel) with the largest Spellbinders Essential Rectangles dies.

Second I cut out the background tree from silver metallic cardstock and the "MERRY &" from some different colors of cardstock. I adhered them to my tree with my favorite 3D Foam Squares. I just simply cut the squares in smaller pieces to fit my letters.

Third step is to cut out the BRIGHT sentiment with the rectangle around it from one of the colors I used in the MERRY &. Then cut the small banner from the Petite Blooms & Sentiment Dies from silver.

After adhering the tree to the card with Thin 3D foam squares as well as the BRIGHT sentiment over the silver banner I added some Pinkfresh Studio Clear iridescent drops and used a clear glitter pen to add some sparkle to the star.

For my final step I mounted some coordinating cardstock on top of an A2 sized card so it would fit just inside and show a tiny white border and then adhered my card front with Bearly Art Glue. 
For my third project I used the Spellbinders All - Occasion Bow Dies. I decided to make it into a tag since the bow is larger than an A2 size card. To do this I took the die that cuts the right side and the left side of the tie portion and cut on the fold on some white cardstock to form the tag portion. Then cut out the bow like you would normally do. I joined the folded pieces in the middle and then glued the gold portion over the top.


Then I added some flowers and leaves from the Petite Blooms & Sentiment Dies on the top to dress it up. This would look great on a gift and serve as the tag and the bow!
Supplies:


