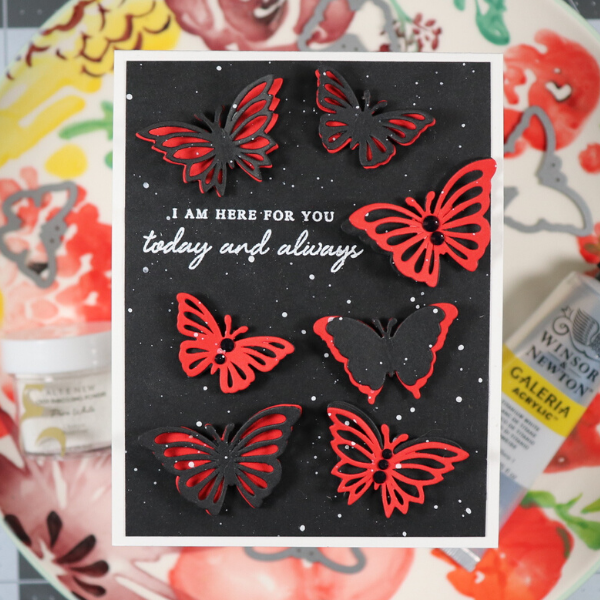
Hi everyone, it is Ricky back on the blog today and today I am sharing a card I made using the Mix & Match Mariposa Die set.
1 – Die cut two sets of butterflies. The base and details from red and the same for the black cardstock.
2 – Glue the detail piece of the butterfly to it’s matching base. I only placed glue along the body so that the wings could be turned up for dimension.
3 – Place some 3M foam tape behind the butterfly bases. You can use any type of foam adhesive for this portion.
4- Heat emboss your sentiment on another black piece of card stock.
5 – Arrange your butterflies in the order that is visually appealing.
6 – Take off the backing paper of the butterflies and place it on the card.
7 – Use some pearls, jewels or sequins to give a little sparkle to your project.
8 – Glue the butterfly piece for the card base that is cut at 11x4.25 and fold in half.
I hope you have a great week and I am looking forward to what you create!
Ricky
Products Used:
Altenew - Mix & Match Mariposa Die
Altenew – In My Thoughts Stamp Set
Lawn Fawn – White embossing folder
Black card stock
Red card stock
White acrylic paint
Black gem stones
Lawn Fawn - Acrylic Block


