
Instructions:
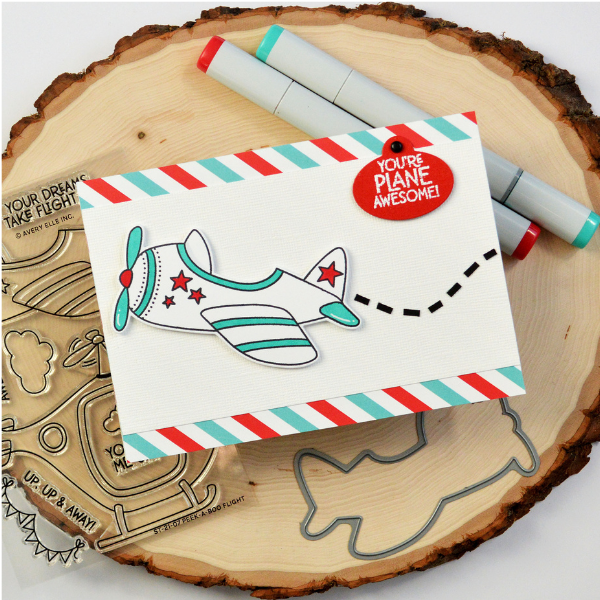
1. Cut white cardstock card base to 6" x 8.5", fold in half.
2. Cut two strips of patterned paper, 1/2" x 6", adhere to top and bottom of card.
3. Stamp and color airplane image.
4. Die cut using coordinating die, adhere to the front of card, slightly off-center. Use 1/4" adhesive mounting squares, giving added dimension.
5. Stamp and emboss sentiment, die cut using a small tag die.
6. Adhere tag to the top right corner of card, using a brad or mounting square.
7. Using black cardstock, cut a long strip and trim small pieces to approximately 1/4". Adhere to front of card to mimic motion behind the plane.
Instagram: @maryjojohnston
Products Used:
Avery Elle Clear Stamps Peek-A-Boo Flight: SKU ST-21-07
Avery Elle Elle-Ments Die Peek-A-Boo Flight: SKU D-21-07
Lawn Fawn Embossing Powder - White: SKU LF1537
Lawn Fawn Lawn Inks - Clear for Embossing: SKU LF1811
Lawn Fawn Lawn Inks - Jet Black: SKU LF1302
Copic SKETCH Marker - Malachite - G16: SKU G16-s
Copic SKETCH Marker - Lipstick Red - R29: SKU R29-s
Bazzill Cardstock
Papertrey Ink Die Cut Tag
American Crafts Mini Black Brads (ALTERNATIVE)
Doodlebug Patterned Paper

